|
This is a short one.
Here is the quick scene setup to model environments. I wish I could make this a full fledged tutorial, but my time is limited, and I've got a lot of projects I want to finish. This whole task, including writing the tutorial took me 2 hours, and thats all I can spare on this.
This is an article, how you setup a blender scene for optimal environment remodeling based on a hdri sphere. You might need to heavily adapt the workflow for other programs, but since this is a short one, I don't have the time. If you do, feel free to post in the forum (link below)
Another objective behind this article, is to make people more aware that during environment hdri aquisition it is very usefull to measure the distance from the sensor center to the ground level, for remodeling purposes. Sure you can get away with a good guessed number of 1.6 to 1.8 meter, but the more accurate this number is, the more accurate the set reconstruction is in scale and you have to deal less with projection distortions.
(wich saves some time down the process).
So I'm a bit flaberghasted that a lot of the professional hdri capturing tutorials miss it. Especially those from the high grade professionals, where saving time down the pipeline is an essential theme / motivation. Ironically for this tutorial I use a hdri haven hdri wich also don't have the ground height included, but since its relatively easy to rebuild I used this for fast results.
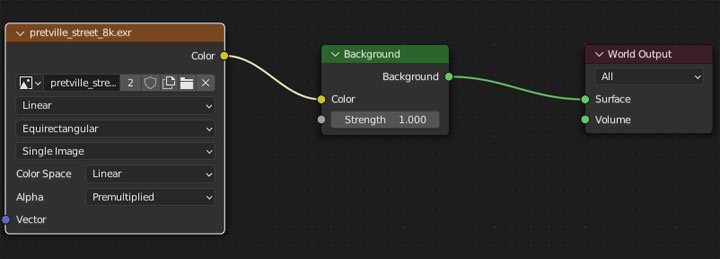
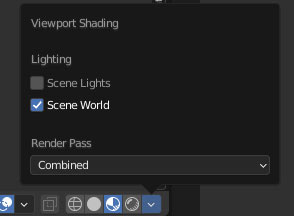
1) In the world shading tab load the environment -> turn on Scene world in material preview


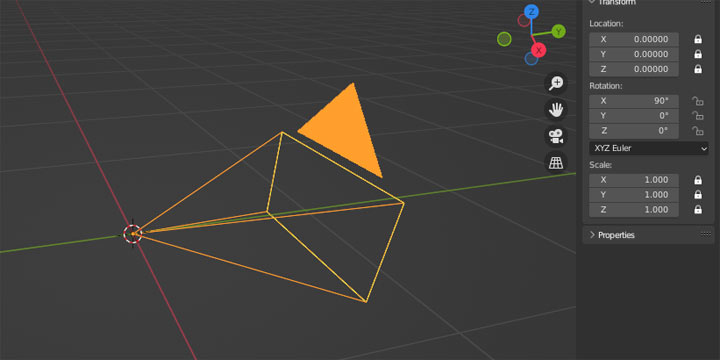
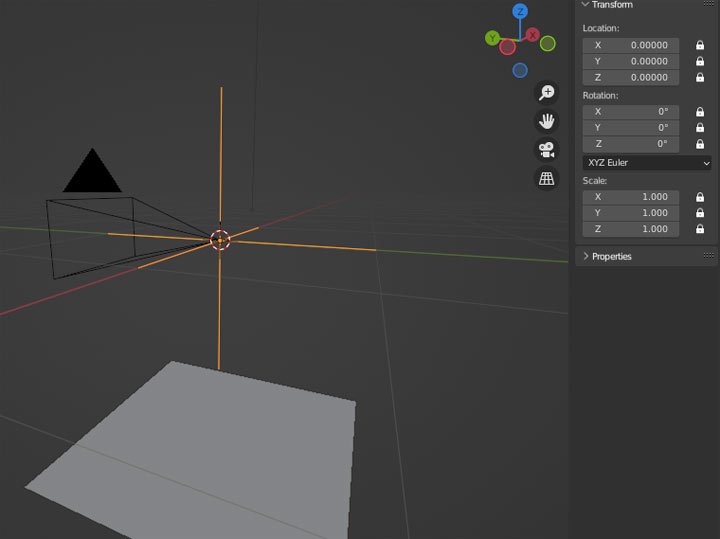
2) Set the camera position to 0 0 0 Lock its position and scale

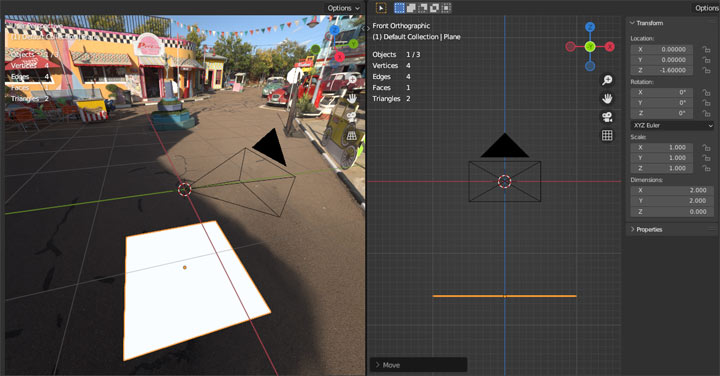
3) Add a plane object and move it the measured distance from the camera on the tripod to the ground in the negative z axis.

This is the minimal requirement to model from an environment map.You can now enter camera view and start the process. ("Activate Lock Camera to view" for better navigation).
A lot of tutorials stop here, but we can go a step further, and project the texture onto geometry, wich allows you to model also in other views more comfortable, and has some other added bonuses,
4) Add an empty object at 0 0 0 and lock its position / rotation and scale. Hide the empty

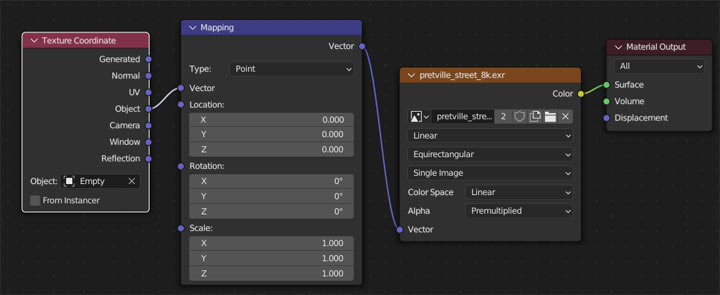
5) In the material settings of the plane, add an environment texture (not image texture) and output it directly in the shader tab. Add a Mapping node to the environment and connect a texture coordinate to it, As input for mapping use the object output. Set the Empty as the Object you want to project from.

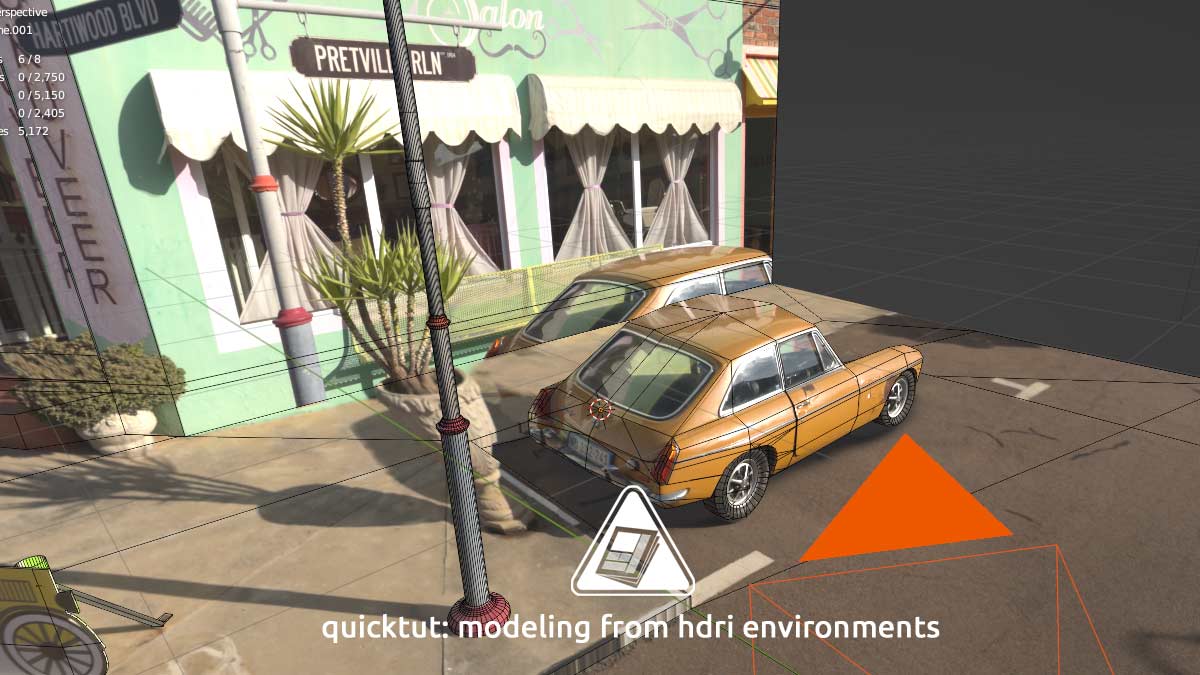
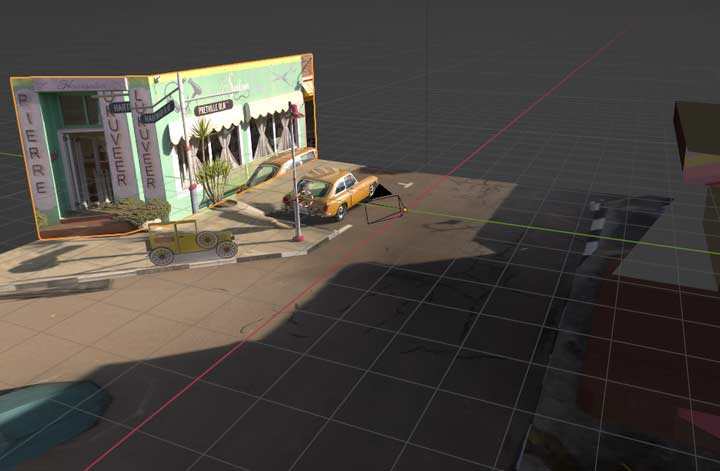
And of you go: Just add cuts / edges / extrusions to the plane and model the environment. The closer your position of the ground in relation to the camera is with the shot panorama, the more accurate in scale and proportions of the whole scene will be. I usually have two 3d views open, one with the camera locked to view, the other without it.
And there is more to it, since you have a projected image, you might even bake down the environment to individual surfaces, and use blenders simple paint tools (or other tools) to remove projection errors.

Pole projection / billboard and car removed on baked ground texture
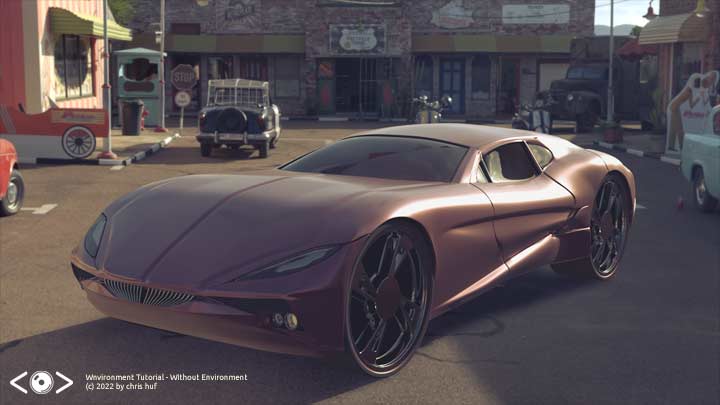
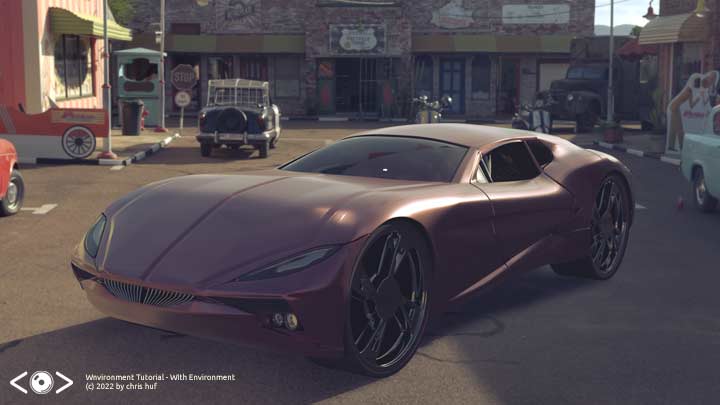
Sure this is no masterpiece, but it allows you to have more accurate reflections / shaddows, than a regular hdri without geometry,.
If anyone has other good suggestions, feel free to post them in the forum.

without environment

with environment

|
